Fireplace May 1, 2009
When we bought the house, we were aware that the outside needed a lot of repairs. There had been a home inspection but the report wasn't necessary to know the fireplace was unacceptable. All we needed to do was look at it.
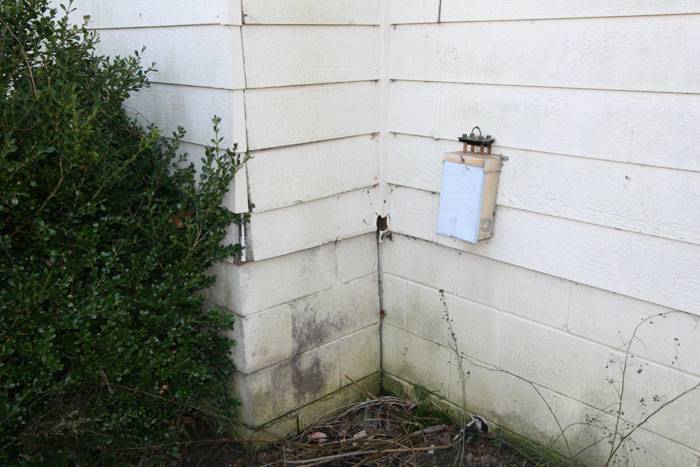
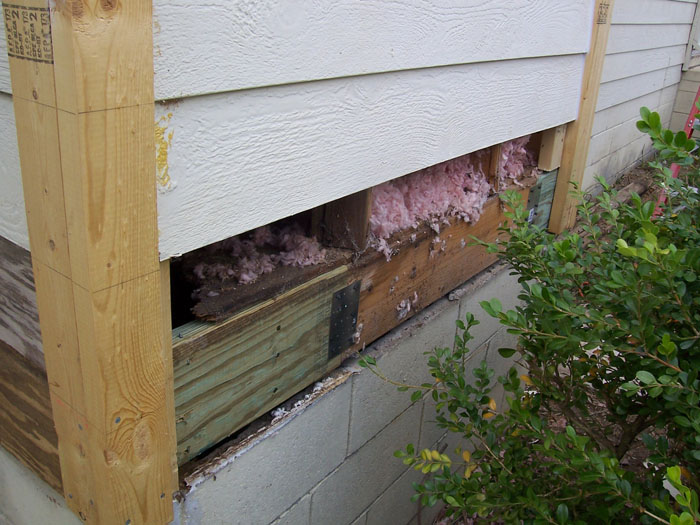
Besides trimming back the hedges, there were exposed boards where someone had tried to patch the siding.
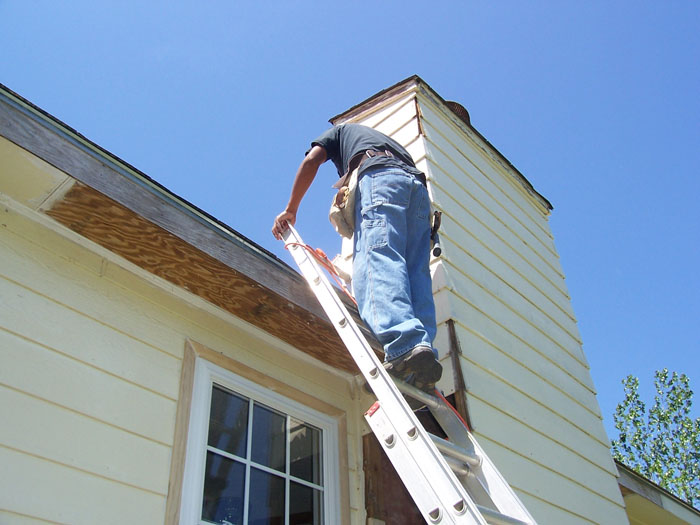
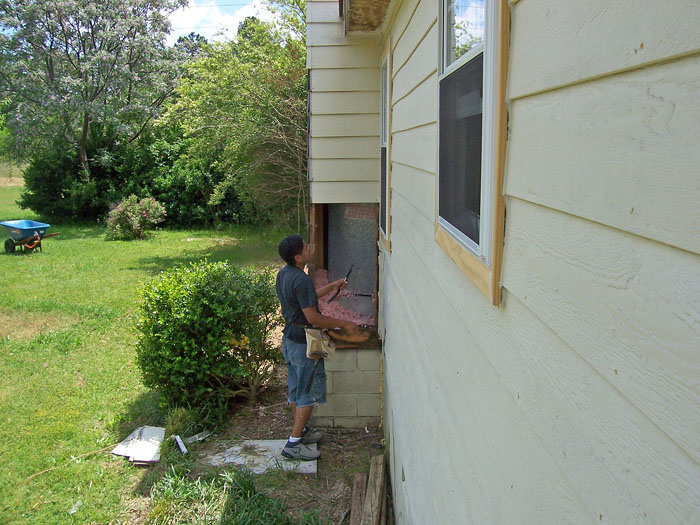
My son-in-law, Israel, contracted to do the repairs before painting the house.
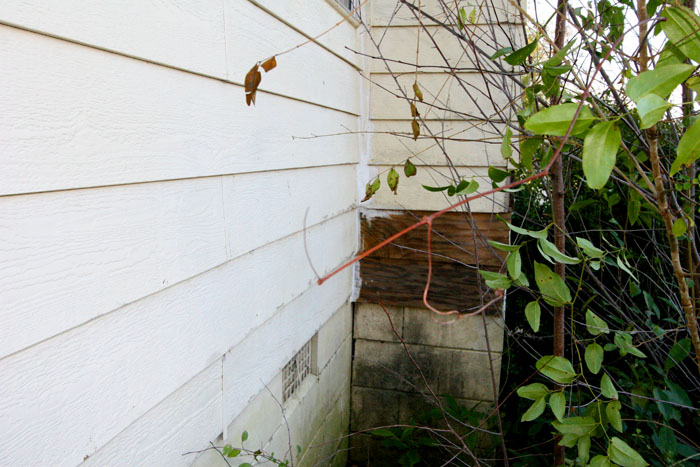
When he began removing the siding covering the fireplace insert, we could tell there was a lot of water damage.
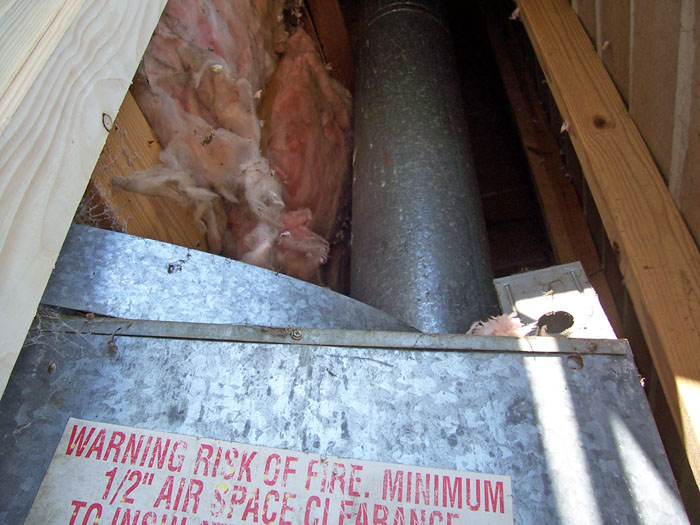
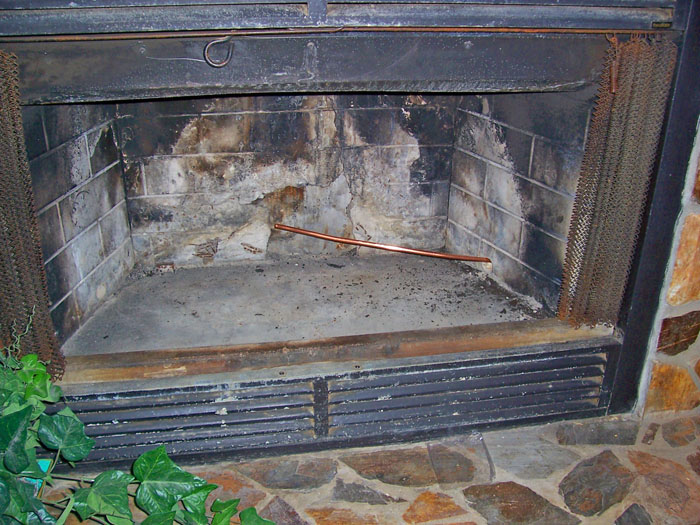
Notice how the firebox is supported with a standard 8" cinder block. This keeps it from touching the combustable wood.
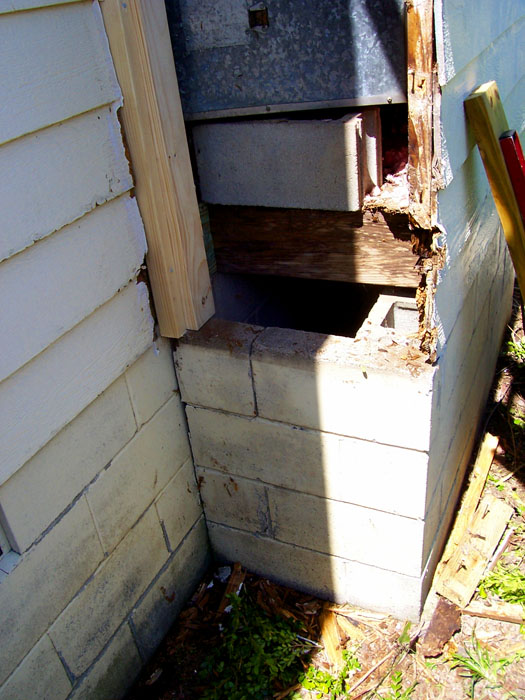
The firebox had proper clearances. The double-walled stack and all the metal was in fine shape.
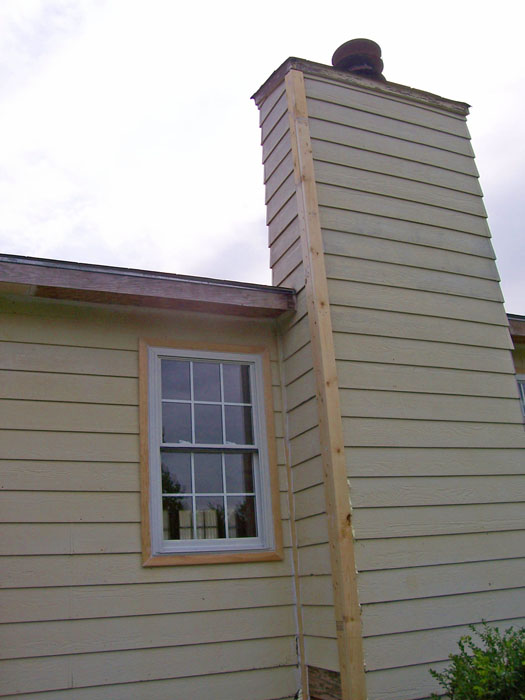
The exhaust stack goes through a wooden cap at the top of the chimney.
The siding is nailed directly to 2" X 4" framing. No sheathing was needed since this is not an exterior wall.

Israel replaced the small, metal siding corner caps with a wide 2" X 4" cap.
He caulked all joints well to prevent the type damage he had just repaired.
When he began removing siding on the opposite side, he showed me where the most damage had occured.
The chimney rim joist and part of the floor header had to be replaced. They were so rotten and water soaked they were spongy.
We used treated lumber for the replacement.
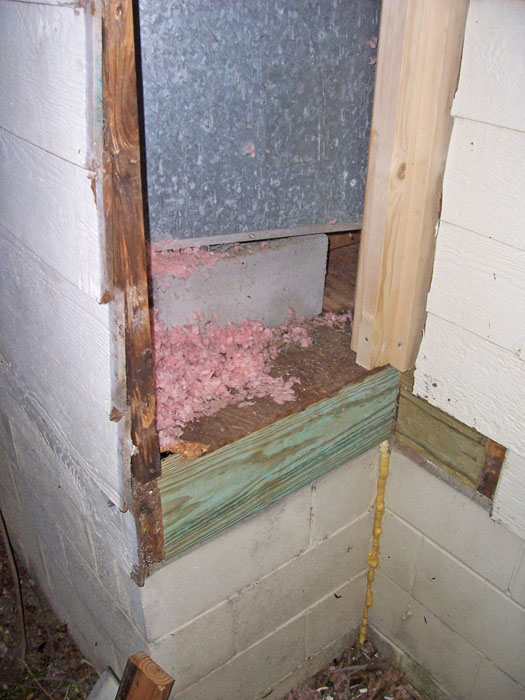
Since the chimney header is only nailed to tail & rim joists, we only replaced the parts that were rotten.
Israel connected the good and bad parts with nail plates.
None of this is load bearing. The fireplace insert has almost no weight at all and the siding is supported by corner studs.
The finished job turned out to be quite attractive.

Once the house was caulked and painted you couldn't tell what was new and what was original.

Unfortunately, the chimney is still unusable because of a damaged firebrick liner.
Maybe another day I'll tackle this project. I ran a 3/8" copper gas line for later use.
~ END ~