Peavey Guitar (before and after pics)
This guitar and amp, according to the guy who sold it, has been locked away in a closet for years. It really looked like it.
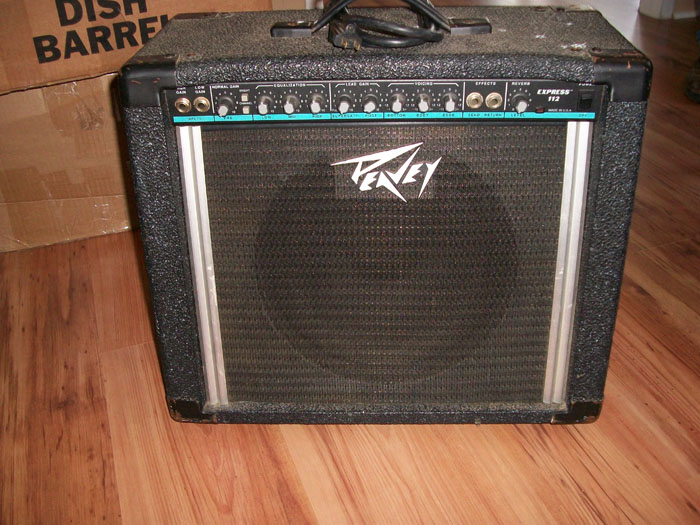
Here is the neat, 112 (one 12" speaker), solid state, two channel Peavey amp with bright switch, effects loop, tone shaping, 3-band EQ, Pre and Post level adjust (for overdrive), and reverb.
There wasn't much required to put this baby back in shape. Just a little Windex and a soft cloth then some tuner cleaner sprayed into each of the pots. They still crackle a bit but that should clear up with use.
BEFORE
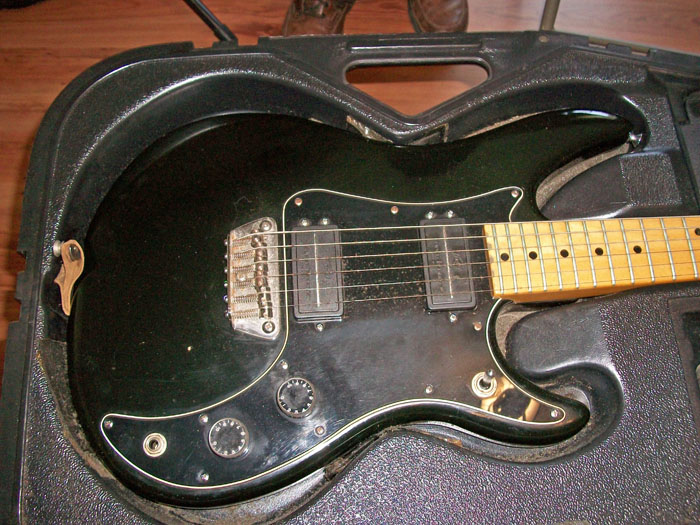
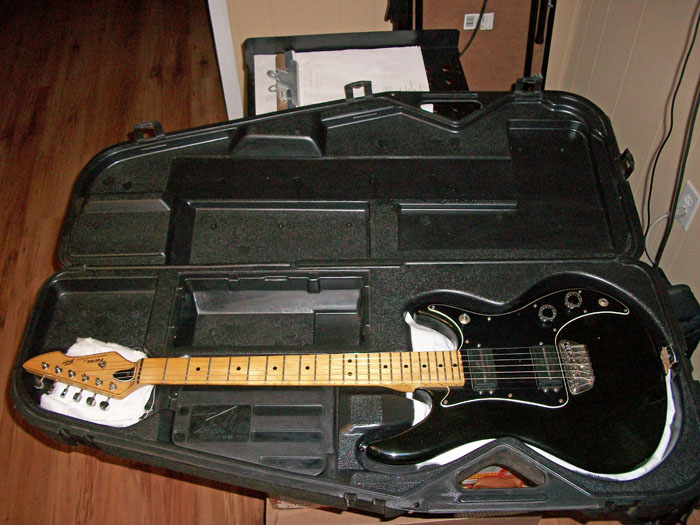
Sorry. I have no "after" pic of the amp. The guitar case was a more difficult problem. See the foam padding? It was coming apart.
BEFORE
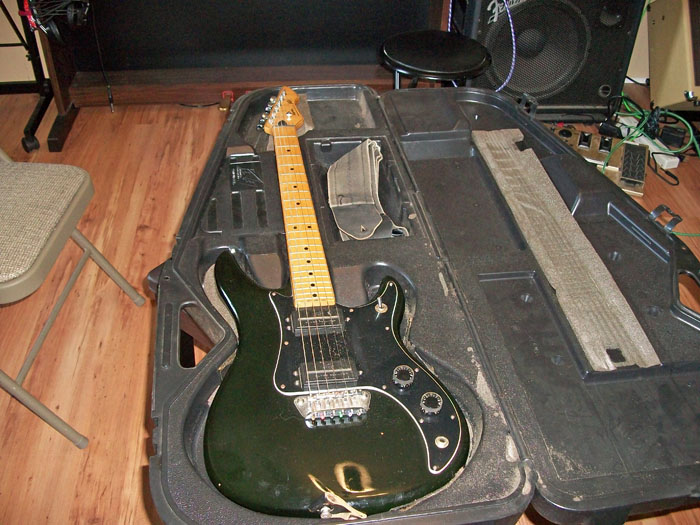
Here is the way it looked -- all over the place. It got worse if you touched it. And it crumbled into powder leaving a sticky residue all over the guitar wherever it touched the finish.
BEFORE
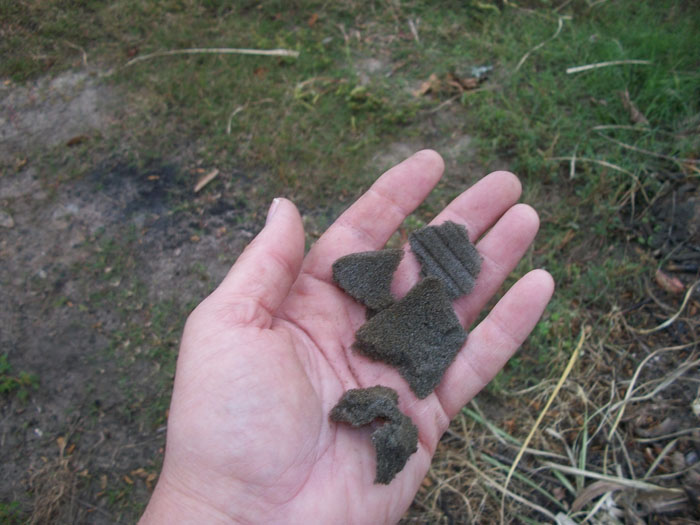
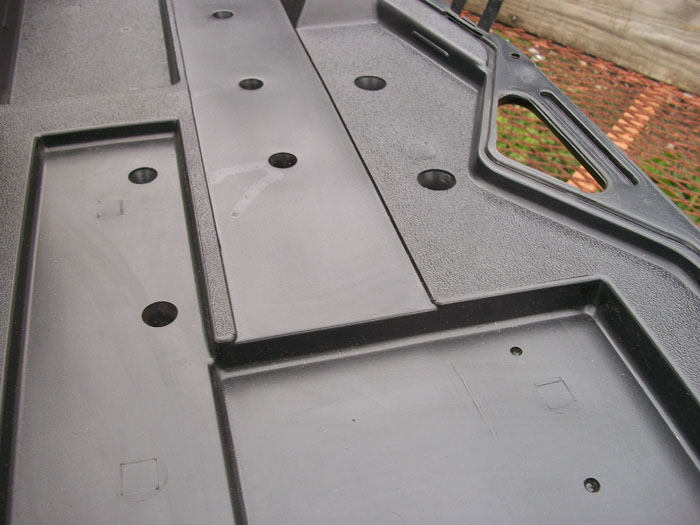
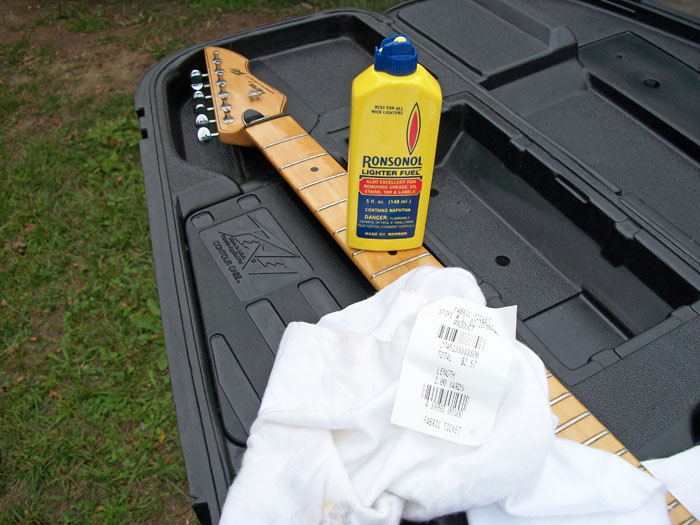
Ah, but that's what they make mineral spirits for, isn't it? Just soak an old rag in the stuff and begin wiping. A small putty knife helped remove the glue that was underneath. After removing all the crumbling foam and glue, the residue of the mineral spirits had to be removed (it will melt the guitar finish). Any good solvent will do the trick. I used lacquer thinner to clean it right up.
AFTER
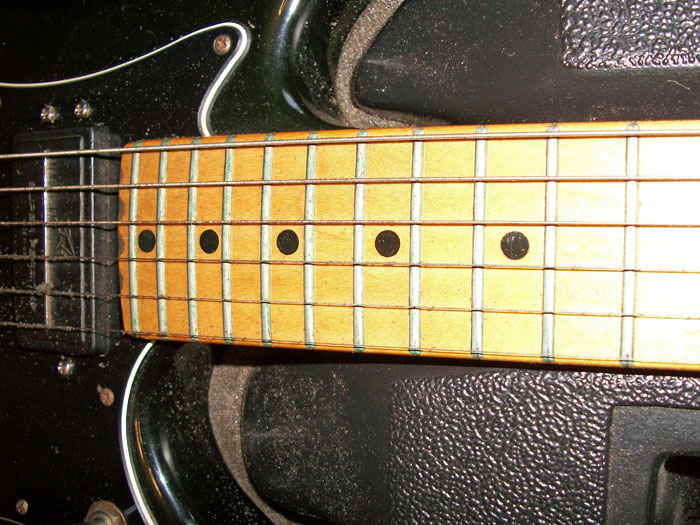
Next task was the guitar body which desparately needed cleaning. And the frets were corroded a bit.
BEFORE
What better masking tape to use than green low adhesive tape. It matched the green corrosion on the frets. I learned the trick of using 4-aught (0000) steel wool and ammonia from my aunt. She was an antique dealer who didn't want to waste time cleaning brass beds and such. Don't ask me why it works so well. Abrasion I guess. That's why you have to be VERY careful.
I soaked a very tiny piece of steel wool in ammonia then made 5 back-and-forth passes on the top of each fret using VERY light pressure. I was barely touching the metal fret on each pass. Then I made two passes on each flat side of each fret.

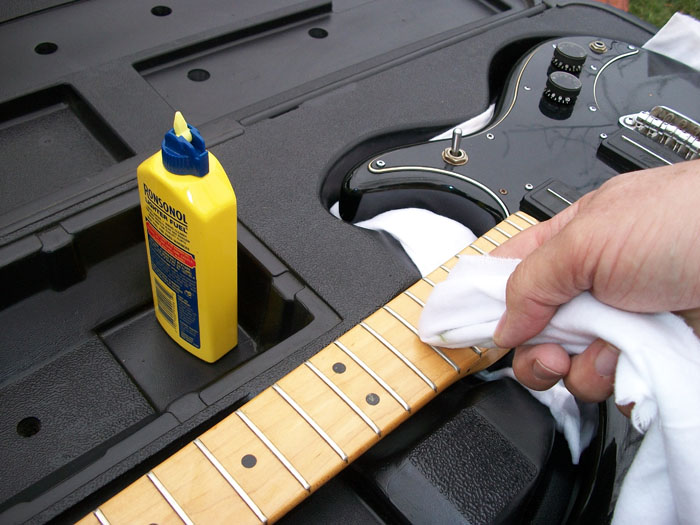
The masking tape prevents the steel wool from damaging the fret board's finish. After removing it I lightly rubbed the whole fretboard with soft felt purchased at the fabric counter then cleaned each fret with naptha.
By holding my fingernail tightly against the cloth, I could scrape the joint where the side of each fret contacts the fretboard. That's where oil and dirt from your hand settle while playing. It's also where remaining corrosion had to be removed. It left green marks on the rag which I had to constantly turn to keep a clean patch facing the frets.
Last but not least, the remaining corrosion had to be removed and new strings were needed. I used the felt and naptha to remove all remaining corrosion and flecks of foam padding. I sprayed the hardtail tailpiece and adjustable bridge with WD-40 and cleaned it with the soft cloth. When I got it inside, I checked the fretboard radius with my to compare the bridge adjustment. It wasn't too far off so I left it. Even the intonation was ok. No adjustment needed.
BEFORE
I was worried that the neck had no relief in it. In fact, it had a little bit of back bow. I took the truss rod cover off only to discover I no longer had the right size hex wrench I needed to adjust the rod. Bummer. I decided to chance that the strings would pull the right amount of relief into the neck once they were tightened. After oiling the tuning machines and installing the new strings, she was a real beauty -- but how would it play?
Great news! It played like it was professionally setup. How lucky could you be? Almost no fret buzz too! I was very grateful.
What was most surprising were the pickups. I've never heard so much natural compression from a stock instrument. It was amazing. Somebody will be very happy with this vintage beauty.
AFTER
~ END ~