2012-07-19 Dining Room Door Header
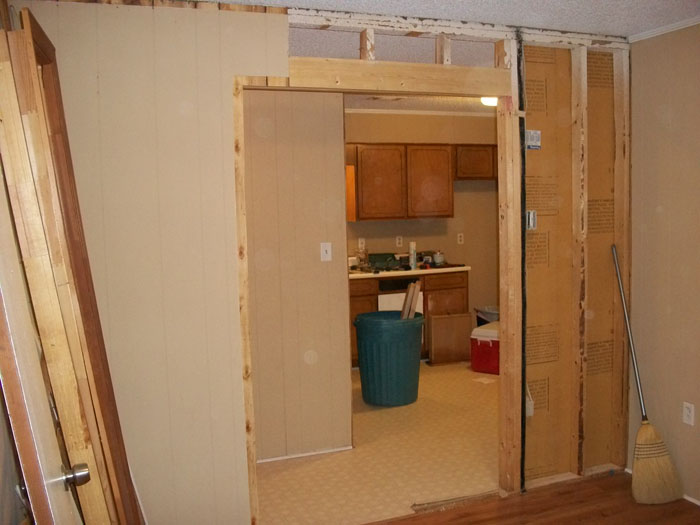
The other projects I mentioned, such as space over the top cabinets and removing the pantry, are for other web pages. This page only deals with replacing the door header. It can be seen in this photo taken from behind the pantry which is on the right side of this photo with just the studs of one wall showing. The rest of this photo is all of the dining room wall facing the kitchen. See the blue taped wires on the left of the opening? That's the door bell removed.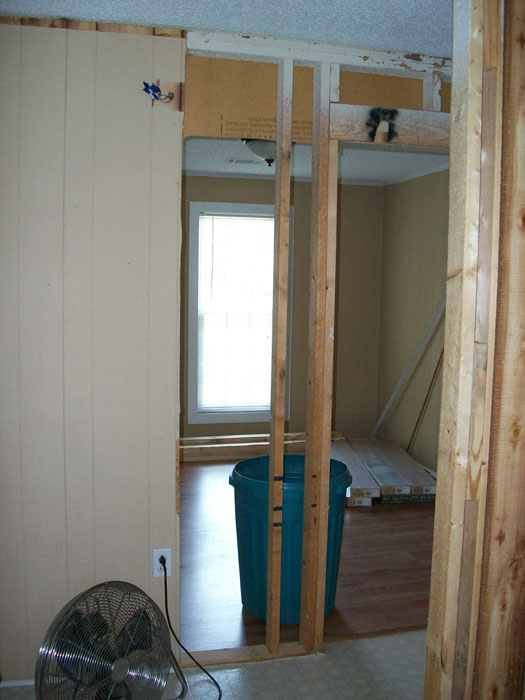
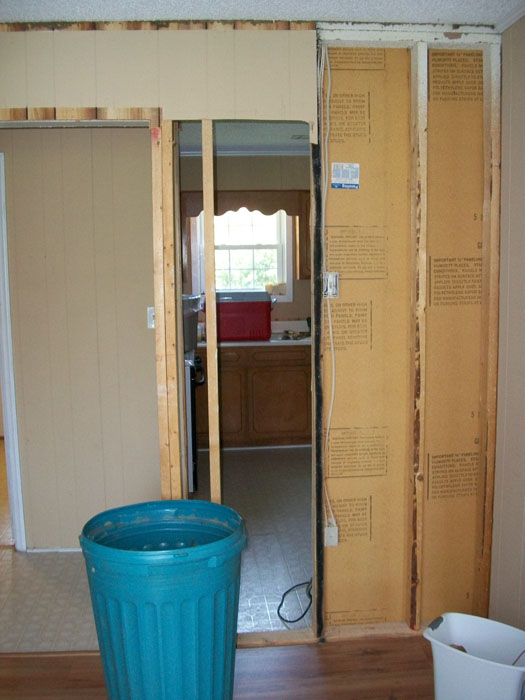
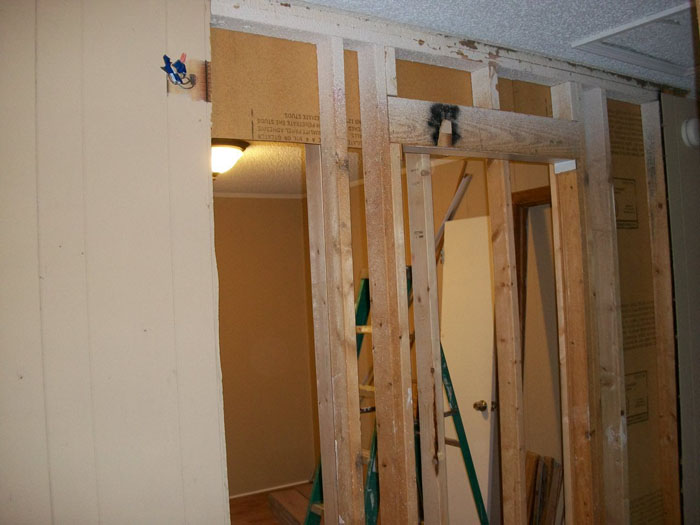
Here's the same wall from inside the dining room facing the kitchen. The paneling hasn't been completely removed from over the doorway. I tried to save as much of this as possible. You can still see the old doorway on the left in this photo. Notice that I've already moved the switch. It is now to the right of where the new doorway will come. I had no choice but to mount it a little high.
Rather than feed it from where I thought it would run, the electrician decided to feed this switch from a far corner. I tried to save the dining room panel and just mount a renovation switch box. Couldn't do it. I cut the hole where it should have gone but the wire wouldn't stretch. Bummer. I had to remove the panel, mount a standard switch box 6 inches too high, and feed the wire into it like a prewire job. That's one more panel I couldn't save. But the switch works fine.
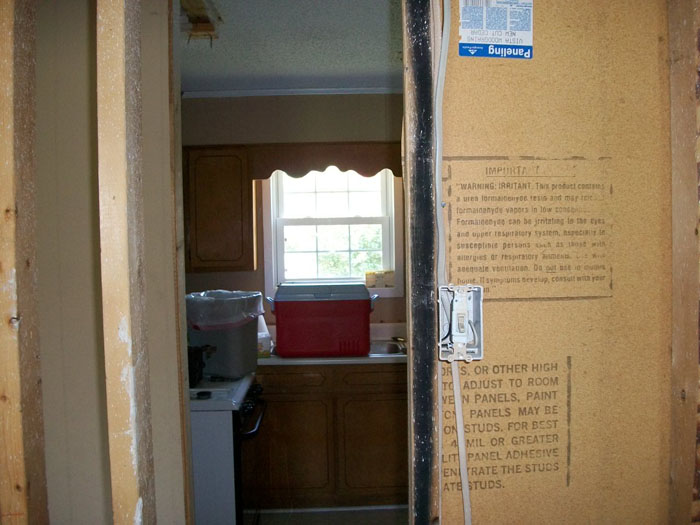
Here's a closeup of the switch in it's new location. The other wires are for outlets near the baseboard.
Thanks to them, I was able to feed through an existing hole in the top plate for the new switch location.
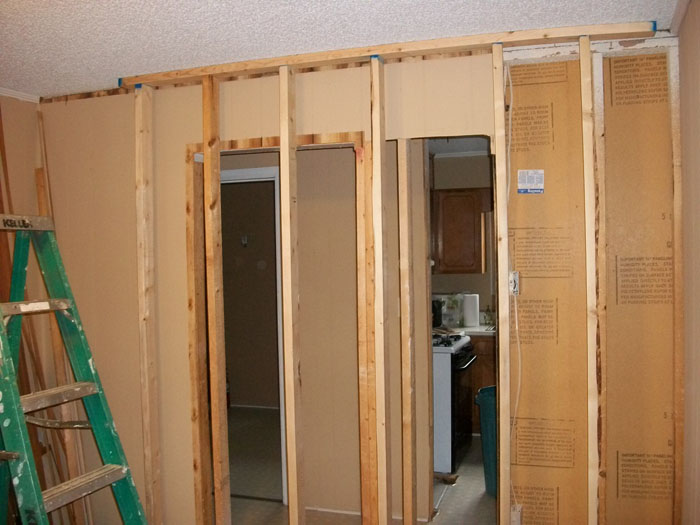
You can't just snatch out an old door header. They're doubled 2 X 6s for a reason. A header in a brick wall supports the masonry laid over a doorway. A header in a frame wall supports the structure above it as well -- in this case, the roof. This is a support wall! I had to build a helper wall, a temporary support wall before removing the door header.
It's pretty simple, really. I just placed a 2" X 4" stud on the floor (the bottom plate), had Linda hold a stud to the right of the new doorway while I held one to the left of it. Then we wedged them in place with a hammer under the horizontal stud on the ceiling (the top plate). After these and the other 5 studs were in place (about one every 16 inches), I tacked them in with 3 inch drywall screws to keep them from shifting while I pounded out the old door header and studs. The view below is from the dining room.
This view is from the kitchen showing the old doorway about to be removed. There's a gap between the old wall and the helper wall (or support wall) of about 3 or 4 inches.
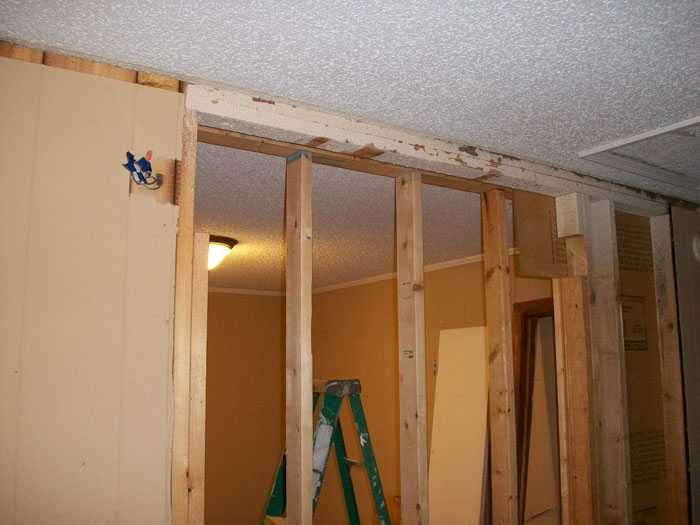
Same view, different angle. In this photo, the old header is still in place.
In this photo, the old header has been removed. The old studs have been removed. I doubled two, full-height studs on the left side then added the third stud which is cut off for a header mount. I was able to reuse lumber from the old wall.
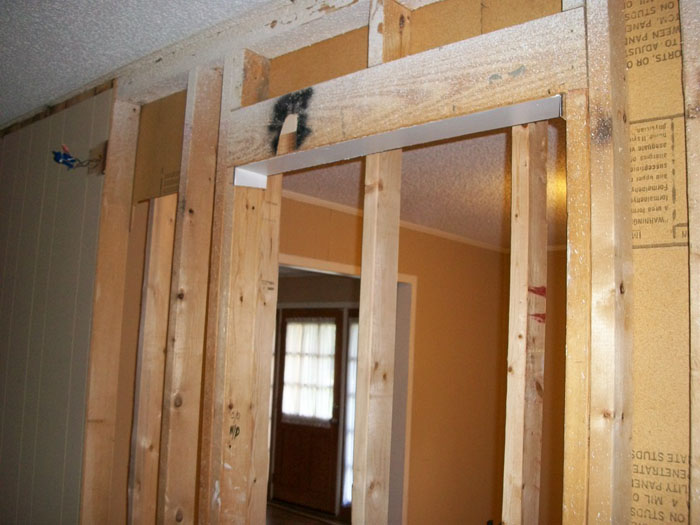
Here's the new header in place. I'll explain the triple studs on the left in a moment.
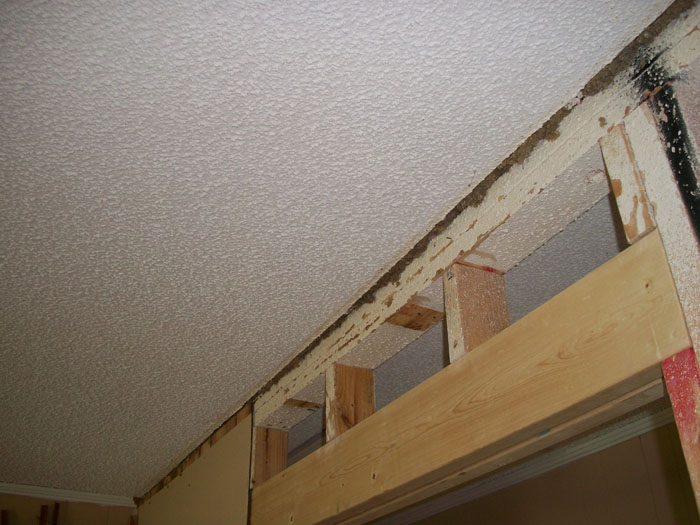
Notice the small blocks over the header. These transfer weight from the top plate which holds the full weight of the central beam supporting the roof. This view is from the kitchen.
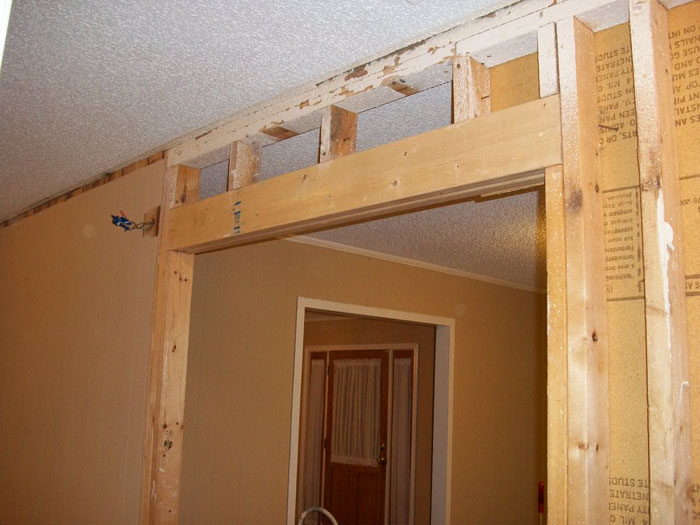
This photo was taken from the dining room. All that remains is to replace the paneled walls and patch and redo the floor. More on that in the next photo.
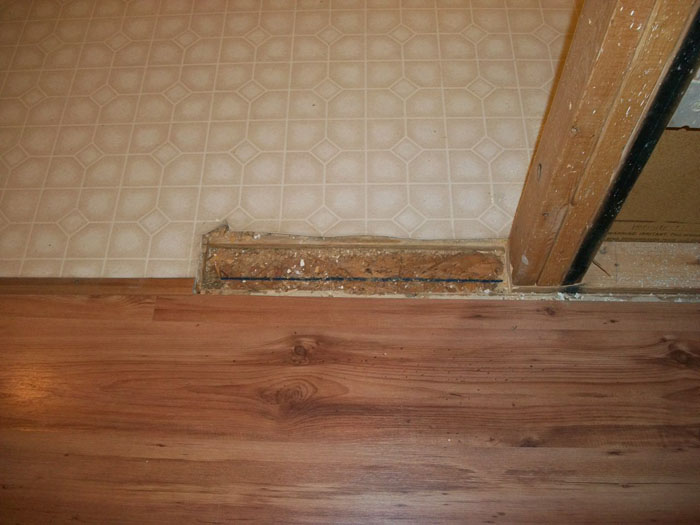
With the bottom plate removed, the subfloor is exposed. There's a gap where the 5/8" plywood floor (the part beneath the floor covering) is missing. I'll have to cut a piece to replace this.
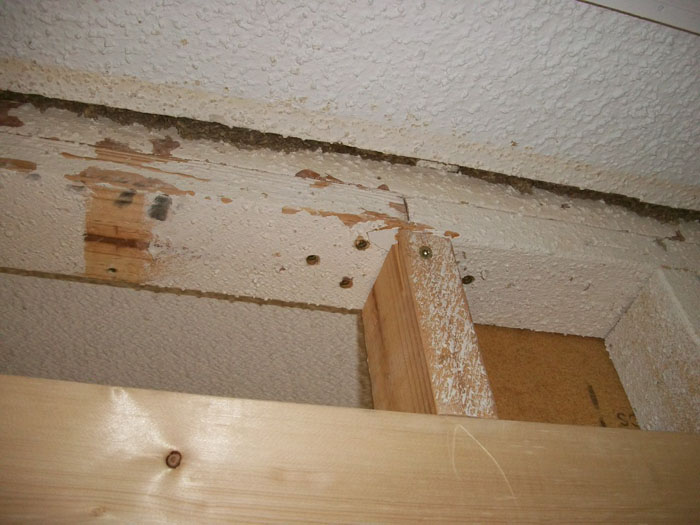
I wish I had had time to photograph this before I put the 2" X 4" block in place. In the center of this photo you can see the splice in the top plate. That's why the top plate is doubled. But when the studs and door header were removed, it seemed to me there was still too much stress on this splice. So I reinforced it by driving three 3" drywall screws into the plate on either side of the joint. Then I tripled the support studs at the door facing opposite this splice.
I couldn't resist taking this picture. It's showing the ceiling where the helper wall was after it's been removed. It impressed me that driving a helper wall in place the way I did caused no damage whatever to the ceiling. I was grateful.
~ Hit your browser's BACK button and go to the next page. ~